
A Beginner's Guide to Home Maple Syrup Evaporation (Without a Sugarhouse)
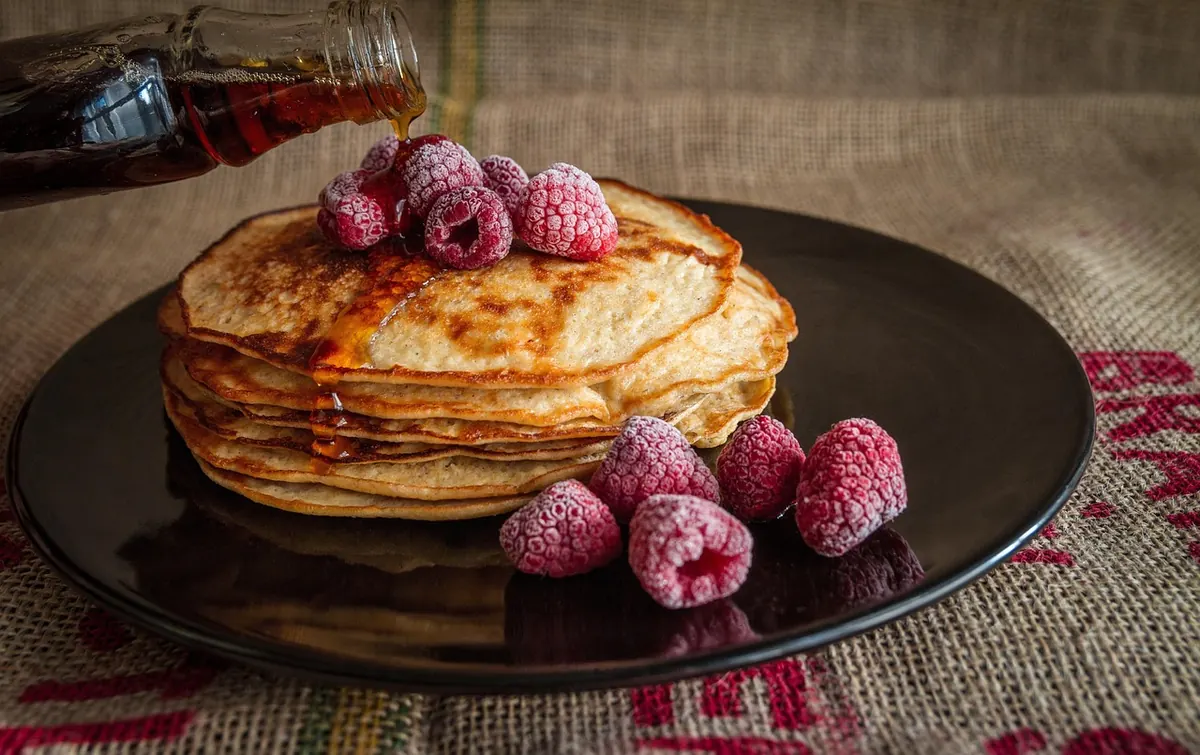
Maple syrup is one of the few foods you can make from scratch in your own driveway with gear you mostly already own. The catch is the water. Sap runs around two percent sugar, so you are looking at roughly forty gallons of sap for one gallon of syrup, and every drop of that water has to leave as steam. Without a sugarhouse, that means a pan, a fire, and several hours of standing around in March weather. Here is how to do it without scorching the syrup, the lawn, or your patience.
Start With the Sap, Not the Setup
Everything that happens at the evaporator is damage control on sap that was either handled well or handled badly. Strained sap that stayed cold makes clean, light syrup. Sap that sat in a warm bucket for three days makes something darker, and if you push it too far, something you will not want on pancakes.
- Keep collected sap out of the sun. A snowbank, a shaded porch, or a cold garage all work.
- Strain it through a clean cloth or coarse filter as you gather, to catch bark, moths, and grit.
- Boil within a couple of days, or freeze the sap in jugs and boil it later when you have a free Saturday.
Forty to one is the working number: forty gallons of sap, one gallon of finished syrup. Sugar maples run sweeter than reds and box elders, and late-season sap runs thinner, so treat that ratio as a budget rather than a promise. Ten gallons of sap is a fine first batch, and it will still take hours.
Build a Boiling Station That Ignores the Wind
Two things decide how fast your rig boils: heat and surface area, in that order. A deep stockpot over a campfire will get there eventually, but a wide, shallow pan over a hot fire evaporates far faster because more liquid meets the air. Most backyard setups end up being one of three things:
- A cinder-block arch with one or two steam-table pans resting on top
- A barrel stove or an old woodstove with a flat pan
- A high-output propane burner under a stainless pan, the turkey-fryer approach
Pans and Metals
Stainless steel is the easy answer: hotel pans, steam-table pans, a big roasting pan, the stockpot from your kitchen. Avoid galvanized metal over a fire entirely, because the zinc coating gives off fumes when it gets hot. Skip painted or coated drums too, and be aware that aluminum will discolor from the sap's acidity. Whatever you choose, it needs to sit level so the shallow end does not burn while the deep end simmers.
Wind is the quiet thief of a backyard boil. It steals heat, pushes flames sideways, and makes your fuel disappear. Stack blocks, lean a sheet of plywood, or set up hay bales on the prevailing side. Keep the rig well away from siding, dry grass, and low branches, and check with your local fire department or municipality about open-burning rules before you light anything.
Pick a Fuel You Can Live With
- Dry hardwood. The best value if you have it. Lights slowly, burns long, leaves manageable ash. A bed of coals gives steadier heat than a fresh blaze, so feed small splits often rather than heaping on logs.
- Softwood. Catches fast and is fine in a pinch, but it throws more ash and creosote, and you will be tending it constantly.
- Propane. Instant control, no ash, no splitting. You pay for it, and a tank can frost and lose pressure on a cold morning. Burners must be used outdoors, never in a garage or shed.
- Charcoal. Steady and simple, but a long boil eats a surprising amount of it.
A common compromise is wood for the long, slow bulk of the boil and propane for the last stretch, when you want to turn the heat down now, not in ten minutes.
Running the Boil
Keep roughly an inch and a half to two inches of liquid in the pan. Deeper than that wastes fuel; shallower risks scorching, and burnt sap ruins everything in the pan. Add fresh sap in a steady trickle rather than dumping a cold bucket in at once, which can knock the boil down and then send it surging over the rim. If you have a second pan, use it to pre-warm incoming sap on the edge of the fire.
Foam will build up, especially early in the season on thin sap. Knock it down with a drop or two of vegetable oil or a sliver of butter on the surface. A boil-over is not just messy. On a wood rig, it douses your fire and you start over.
You cannot rush the water out. You can only give it more surface area, more heat, and more time.
Plan on a long day. A basic backyard rig can take most of a Saturday to turn twenty gallons of sap into half a gallon of syrup, and the last hour goes faster than the first five because the sugar concentration climbs.
Finishing Temperature and Density
Syrup finishes at about seven degrees Fahrenheit above the boiling point of water where you live. Near sea level that is roughly 219°F; at higher elevations the boiling point drops, so a pot of water on your own stove tells you your target. Over-finished syrup turns gritty with sugar crystals. Under-finished syrup is thin and can spoil.
Temperature alone is a rough guide because it shifts with weather and altitude. A syrup hydrometer or refractometer is the reliable check: finished syrup measures about 66 to 68 Brix. Hydrometers are calibrated for a specific temperature, so either use a hot-test cup or cool your sample and correct for it.
Do the bulk of the boil outdoors, then finish a small batch in a narrow pot on a propane burner or, if you must, on the kitchen stove with a fan in the window. Even a short indoor finish leaves a sticky film on cabinets, so most people prefer to stay outside.
Filtering and Storing
Hot syrup carries sediment called niter, a harmless mineral grit that settles as the syrup cools. Filter it through a prefilter inside a felt or synthetic cone filter while the syrup is still hot, and change the prefilter when it clogs. Then hot-pack into clean jars, seal them, and store in a cool dark place. Refrigerate after opening. A cloudy jar is not a failure, just syrup that skipped a filter.
Safety for Small-Batch Boiling
- Never do the long boil inside a house. The steam carries sugar, and it condenses on everything.
- Boiling syrup is hotter than boiling water and it clings to skin. Wear long sleeves, gloves, eye protection, and closed shoes.
- Set a boundary for kids, pets, and curious neighbors, and mean it. A tipped pan of near-syrup causes serious burns.
- Propane burners belong outdoors, away from walls and overhangs. Never light one in a garage.
- Keep a lid and a fire extinguisher rated for your fuel within reach. Do not throw water on burning sugar; it flashes to steam and sprays hot syrup.
- Ladle syrup out of a full pan instead of carrying it. Few things are as unforgiving as a pot of hot syrup in motion.
Your First Season: Keep It Small
Five to ten taps will give you enough sap for one satisfying batch without turning your spring into a job. Borrow or buy a hydrometer before you need it, since guessing at density is how most first batches go wrong. Take notes on your boiling point, your start and finish times, and how the syrup tastes, because next year's sap will run differently.
Expect late-season syrup to be darker and stronger, and expect your first batch to be smaller than you hoped. That is normal. The point of boiling without a sugarhouse is not efficiency. It is a jar of syrup on the shelf that you made from trees you can see from the kitchen window.
Photo: piviso / Pixabay